pet 2.0 User Manual
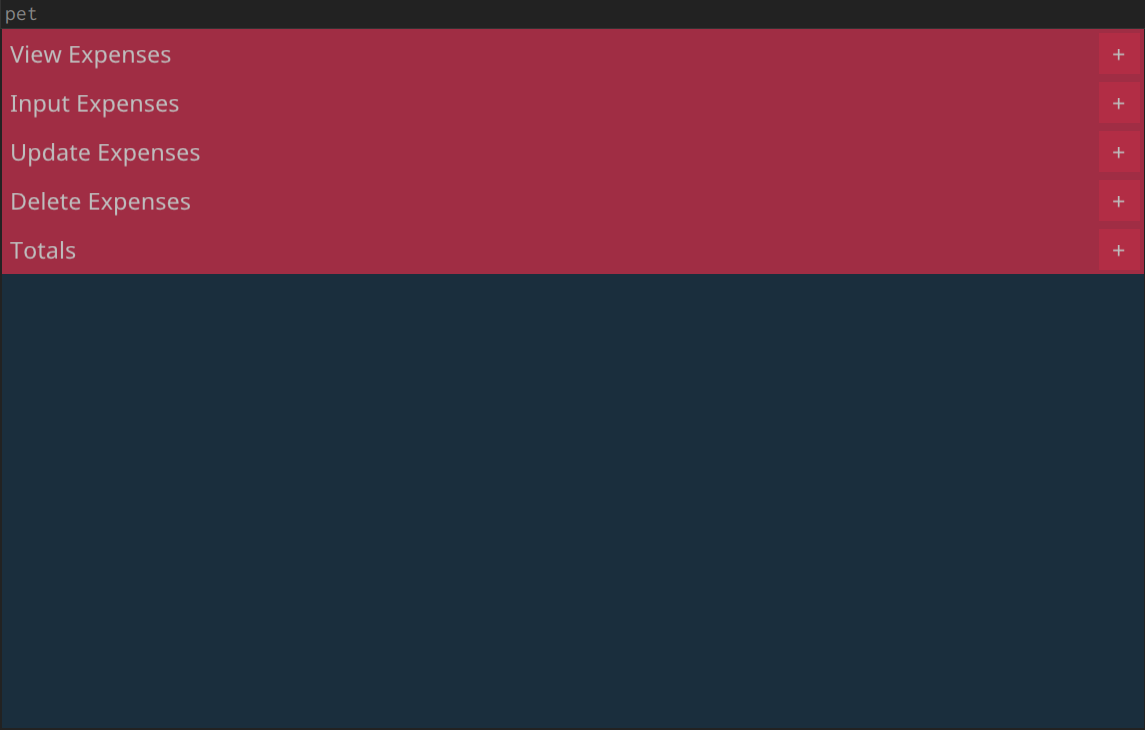
Upon launching the app you shall be greeted by 5 window bars:
- View Expenses
- Input Expenses
- Update Expenses
- Delete Expenses
- Totals
VIEW EXPENSES
This window allows you to view previously input expenses. Click on the + symbol adjacent to it so as to maximize the window. Below is a sample view:
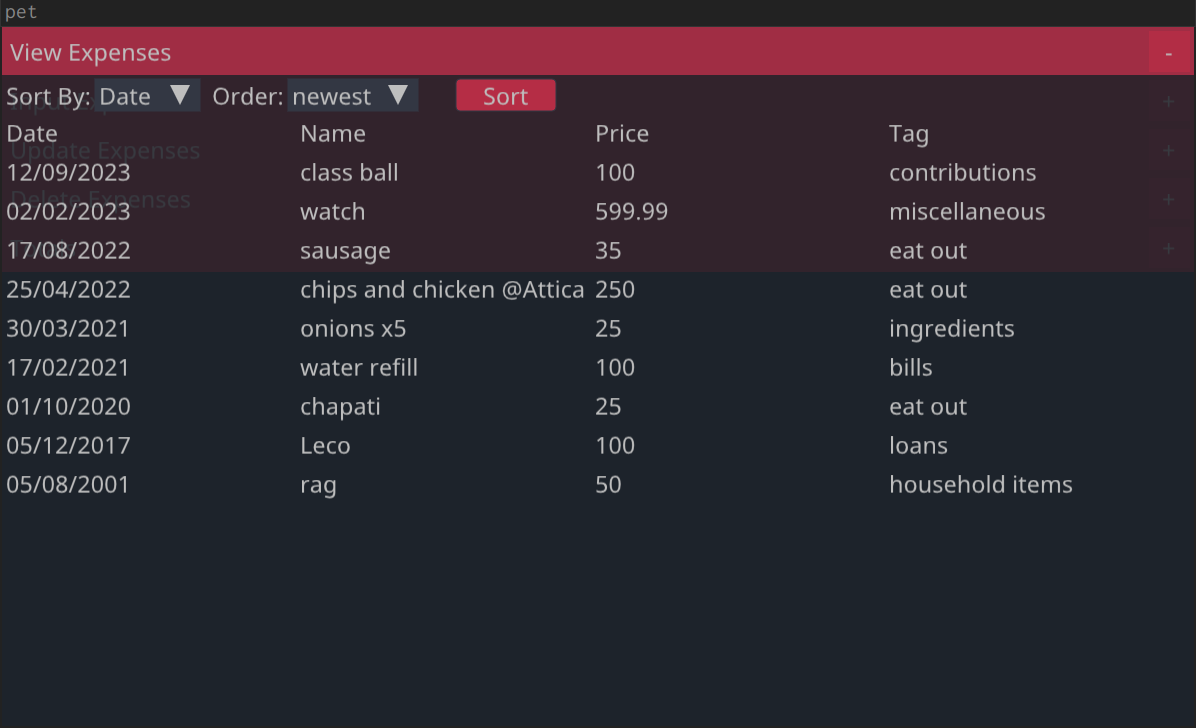
By default, the expenses are sorted by date, having the newest first. However it is possible to sort them by the other fields too, and each field has 2 orders to sort by, namely:
- newest and oldest for Date
- a-z and z-a for Name
- biggest and smallest for Price
- a-z and z-a for Tag
INPUT EXPENSES
This window allows you to input a new expense. Click on the + symbol adjacent to it so as to maximize the window. Below is an example of an expense that is just about to be saved:
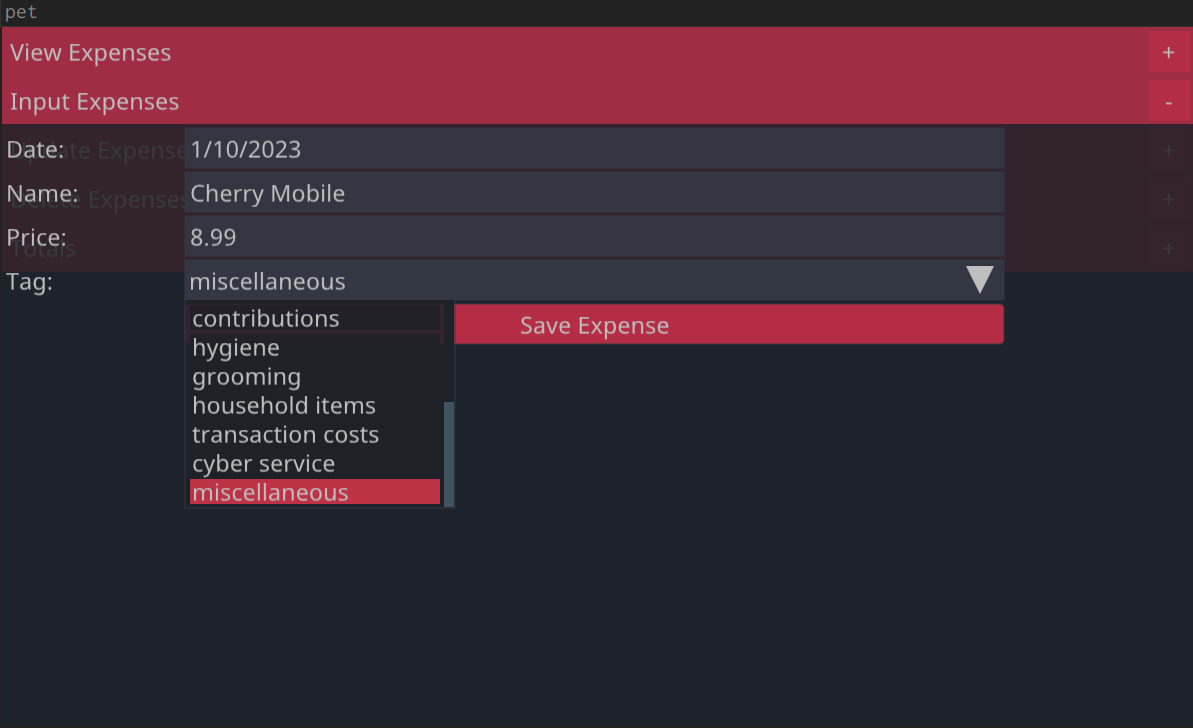
To save an expense input:
- the date
- the name
- the price
Then proceed to select a tag of your liking. Then press the ‘Save Expense’ button.
Note that the date format is dd/mm/yyyy, however if the day or month is less than 10, it is permissible to omit the leading 0. i.e. 2/2/2020 or 5/11/2021 or 22/3/2022 are also valid.
Also note that the tags are modifiable, they can be added/removed/edited by modifying the tags.txt file.
UPDATE EXPENSES
This window allows you to edit field(s) of a previously saved expense. Click on the + symbol adjacent to it so as to maximize the window. Below is an example of an expense just about to be updated:
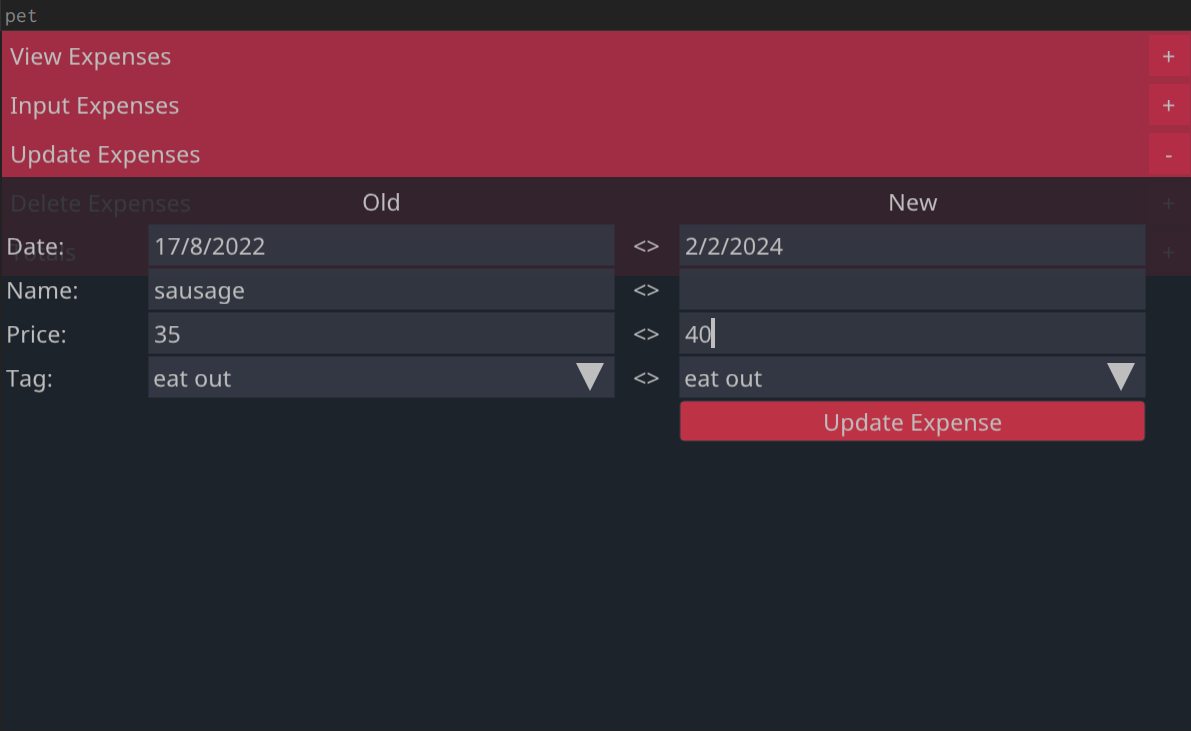
In this example, the expense sausage, is about to have its date and price fields updated.
To update an expense:
- Under the Old section, fill in all the fields and select the right tag.
- Under the New section, select the desired tag then fill in only the field(s) you wish to update, leaving the rest blank.
- Finally click the ‘Update Expense’ button.
DELETE EXPENSES
This window allows you to delete a previously input expense. Click on the + symbol adjacent to it so as to maximize the window. Below is an example of an expense that is just about to be deleted:

To delete an expense:
- Fill in all the fields.
- Select the expense’s tag.
- Click the ‘Delete Expense’ button.
TOTALS
This window allows you to view your total expenditure grouped by tags. Click on the + symbol adjacent to it so as to maximize the window. Below is a sample view:

MENUBARS
pet has one more hidden feature, menubars. These menubars appear when you right click in either of the windows listed below:
- INPUT EXPENSES
- DELETE EXPENSES
- TOTALS
INPUT EXPENSES MENUBAR
Upon right clicking in the INPUT EXPENSES window, the following menubar appears:
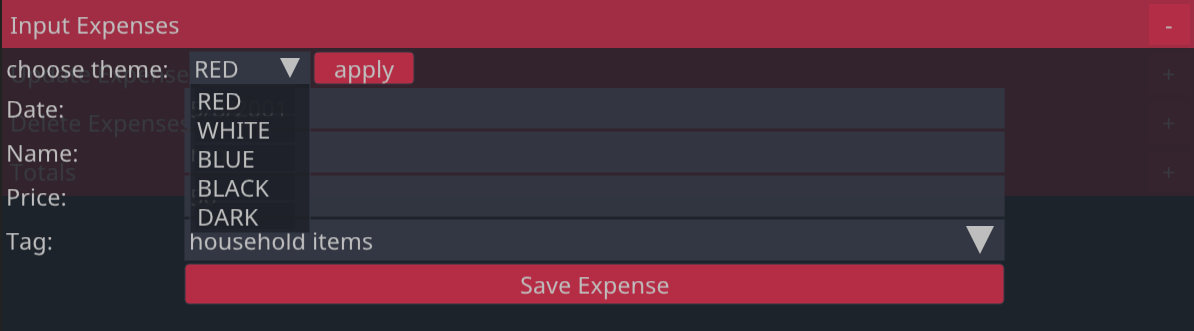
This menubar allows you to change the theme of pet. Pet currently has 5 themes to choose from.
Upon changing the theme, the appearance of pet changes. This is pet using the ‘BLACK’ theme:
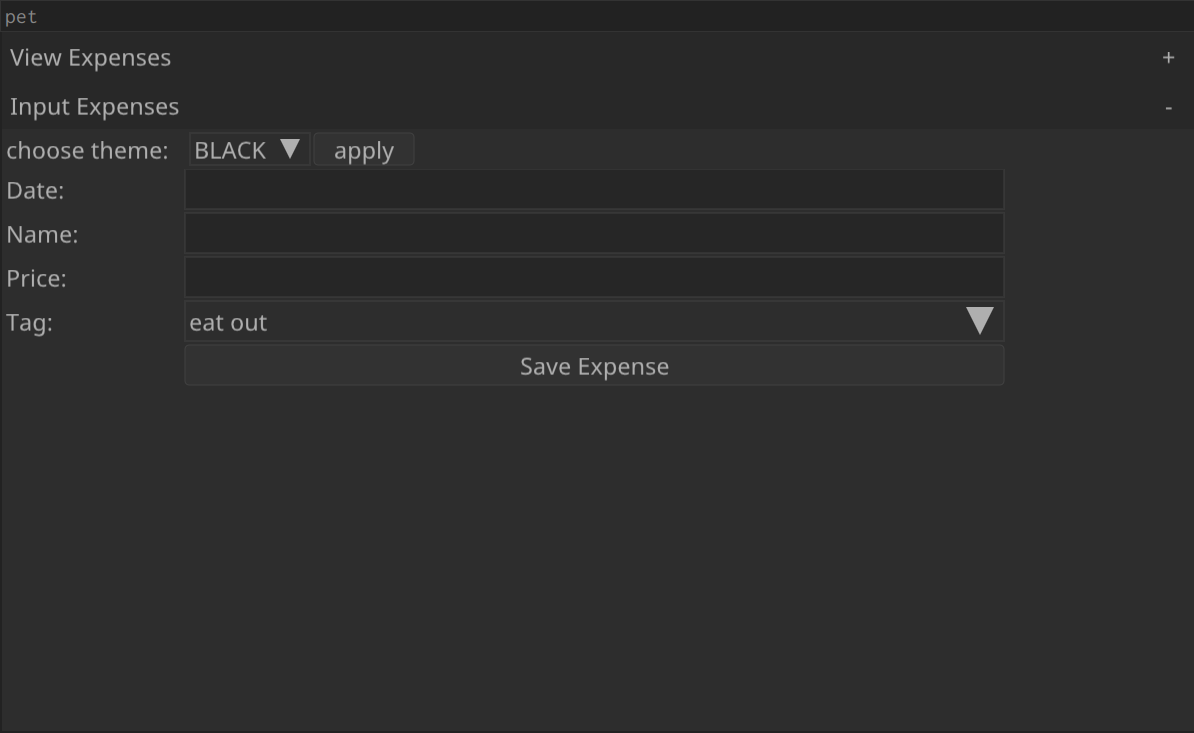
Note that pet remembers the previously selected theme upon relaunching it.
DELETE EXPENSES MENUBAR
Upon right clicking in the DELETE EXPENSES window, the following menubar appears:
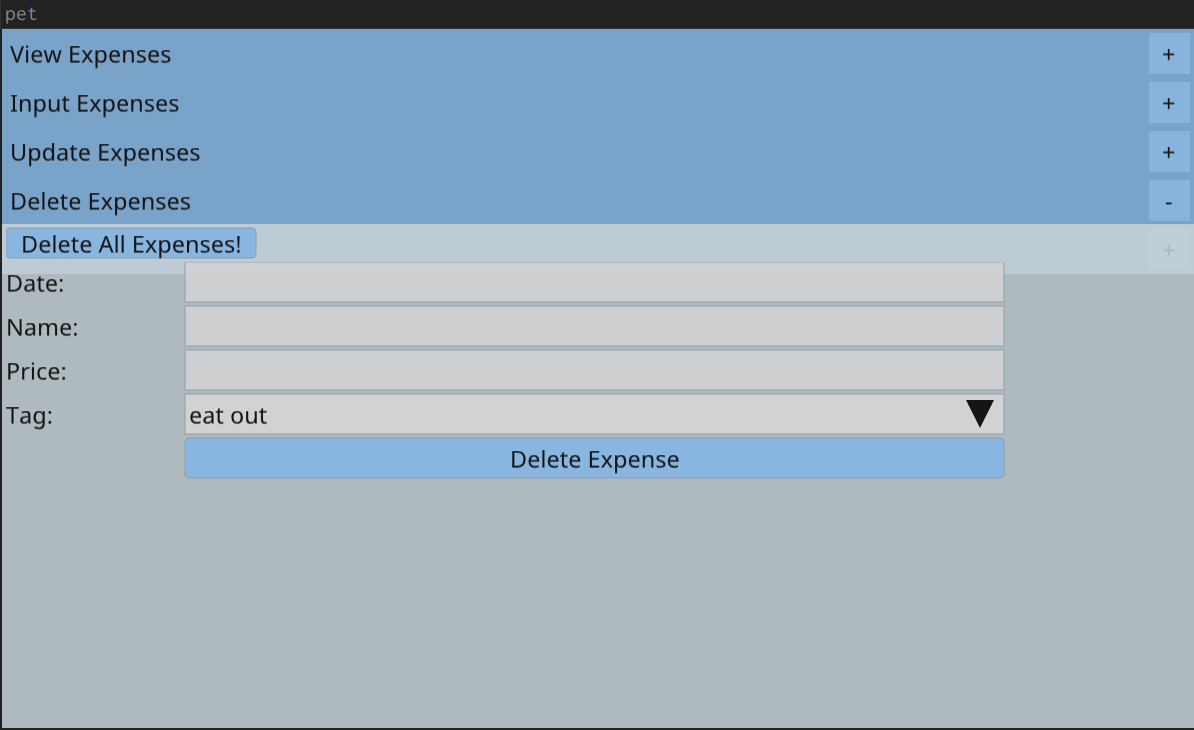
This menubar presents the ‘Delete All Expenses!’ button which enables you to delete all previously saved expenses as the name implies.
Upon clicking, you shall be presented with a confirmation dialogue:

Upon clicking ‘Yes, I am’, all expenses will be deleted.
Note: Be very careful with this as this is irreversible!
TOTALS MENUBAR
Upon right clicking in the TOTALS window, the following menubar appears:

This menubar enables you to see your total accumulated expenditure as well as the number of expenses saved.
In addition to that, upon hovering your cursor over ‘ABOUT’, you are presented with the link to pet’s development page.

CONCLUSION
Thank you for taking your time to read through pet’s manual. I had fun preparing it (mela), it was enjoyable. If you wish to have an offline copy, click here
Note: All your expenses are saved locally onto your device in a database file entitled accounts.db
I wish to thank the following whose work is incorporated into pet:
- Richard Hipp and contributers for SQLite3.
- Micha Mettke and maintainers for Nuklear.
- Marcus Geelnard, Camilla Löwy and contributers for GLFW.
- David Herberth and contributors for glad.
- Dominic Szablewski and contributors for QOI.
- Michael Magu for designing the icon.
- Google for NotoSans-Regular font.
- Kind online friends who guided me when I was stuck.